


How To Eurocarve On A Snowboard
Eurocarves aren't just the best way to take out skiers, they are also the funnest way to style up your plain, boring old toeside carve.
(Narrating/Riding: Duncan Mainland. Filmed At: Whistler Blackcomb)
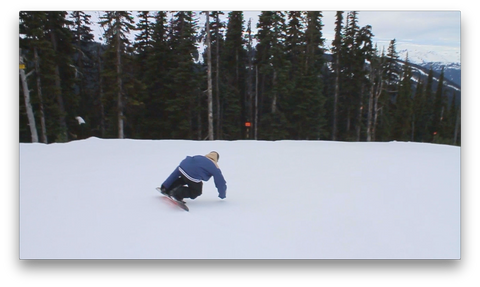
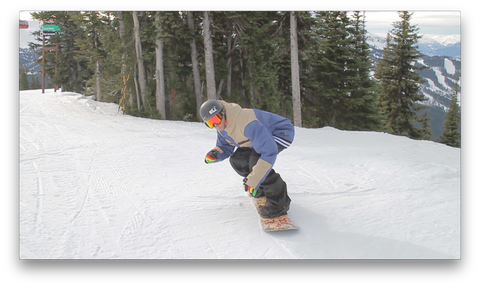
Step 1) Get Low
Before trying a Eurocarve, you should be comfortable cruising around on both your toe and heel edge. Ideally, carving these turns by getting low and adding pressure through your turns.
 Get loe, get loe, get loe, get loe.
 Get loe, get loe, get loe, get loe.
- On your toe edge, get as low as you can.
- Grab your heel edge with your front hand.
- Lean forward until your rear hand is just touching the snow.
Riding low like this will get your body comfortable on the extreme point of your toe edge. Once you have mastered this carve, you will be able to go full Euro.
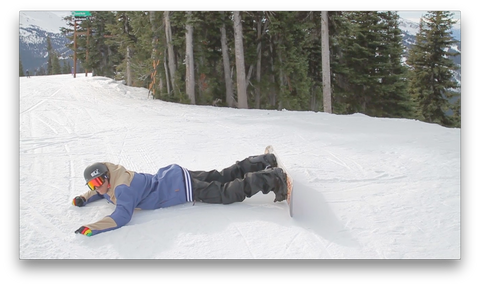
Step 2) Learn The Lay Down
The higher you are, the farther you will fall. That's science b*tch! Try this on the flats to get the feeling of a Eurocarve and how to do them safely.
 Position 1
 Position 1
- Lay down flat from the position in Step 1.
- Flex your abs, and keep your back straight.
- Keep your weight on your toe edge and your forearms.
 Position 2
 Position 2
This will teach your body how to transfer your weight more forward than you ever have.
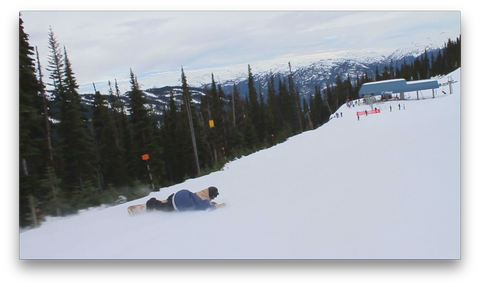
Step 3) Go For It
Once you've got the feeling of a Eurocarve and are comfortable getting a deep toeside carve, it's time to Euro. The only difference here from a deep toeside carve, is you need to extend your body on to the snow. And remember, grab onto the cuff of your jacket to stop some of the white stuff getting in.
 Once you've got it all on lock, just go for it!
 Once you've got it all on lock, just go for it!
We agree, it is a super weird motion, but it's worth it! After enough times getting snow in your jacket, you'll improve your riding and start stomping the Eurocarve.
Want even more Snowboard Addiction trick tips, delivered straight to your inbox?
Alex McCann
Snowboard Addiction
Our Goal Is To Improve Your Riding!


