


How To Carve On A Snowboard
Everyone loves carving like a madman and destroying the perfectly groomed corduroy. Now you can too! Check out this tutorial and improve your carving on a snowboard today!
Remember, get even more tutorials with the Snowboard Addiction Snowboard Tutorial Membership!
(Rider/Narrating: Nev Lapwood)
What Is Carving?
Carving refers to turning your snowboard using only the edge shape (sidecut) of your board. When carving, you keep a lot of speed through your turns and is super useful for riding pipe and in the set-up for spinning jumps.
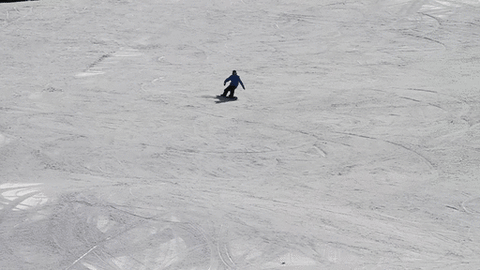 Absolutely destroying a groomer is what carving is all about.
 Absolutely destroying a groomer is what carving is all about.
Don't be fooled, carving is not a technique that you would use across the whole mountain, it is only used for a small portion of your riding.
Step 1) Edge Stacking
Go indoors and you will be able to get the feeling of positioning your weight over your edges for carving. Start by holding onto something (or someone) for balance. For your toe edge, get low by bending your knees and ankles while pushing your shins into the tongues of your boots. By doing this, you will be stacking your weight over the toe edge of your board.
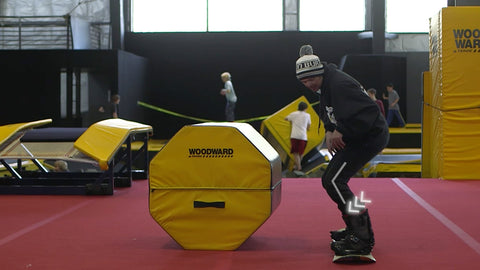 Stacking your weight over your toe edge.
 Stacking your weight over your toe edge.
From this position, shift your hips forward and create an edge as if you're carving. Now try to do this without holding onto anything.
For your heel edge, get low, bend your knees and ankles and sink your hips down towards your high backs. This is now stacking your weight over the heel edge of your board.
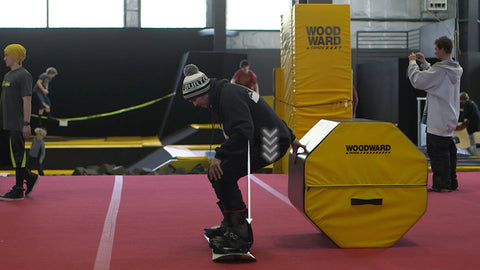 Stacking your weight over the heel edge.
 Stacking your weight over the heel edge.
From here however, you will need to lift your toes to lift the toe edge of your board.
Trick Tip. Keep your knees bent while on your heel edge to create edge angle. Do not straighten your legs!
Step 2) Engaging Your Edge
Find yourself a wide groomed run, with no people. Good luck if it's the weekend.
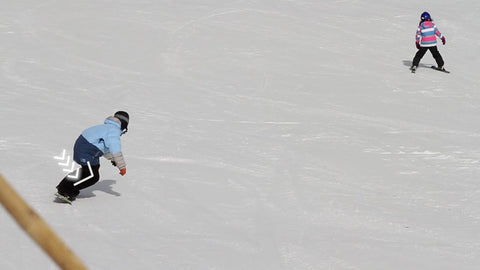
Try to hold a clean traverse across the entire run on your toeside and heelside. Traversing is a term used to describe riding across the run on a single edge, and being able to traverse is an important stepping stone in learning how to carve.
 Like this.
 Like this.
Set off in a downhill motion to get some speed. Get low, push your shins into the front of your boots to stack your weight over the tow edge. Now, push your hips forward to engage your edge.
 Traversing onto your toeside edge, ready to slash an unaware skier.
 Traversing onto your toeside edge, ready to slash an unaware skier.
When you engage your edge across a run like this, you should end up riding slightly up hill. On your heel side, get low and sink your hips into your high backs which will stack your weight over your heel edge. Now lift your toes to engage your heel edge in the snow.
 You must keep your knees bent, do not straighten your legs.
 You must keep your knees bent, do not straighten your legs.
Step 3) Edge Rolls
On a mellow run, try gently rolling from edge to edge without sliding your turns. Your upper body needs to stay relatively still, because most of the action happens with your lower body. This technique is designed to give you the feeling of your edge making the turns.
 Keeping those turns tight and and the legs loose.
 Keeping those turns tight and and the legs loose.
Notice how no snow is being sprayed from the board throughout the turn, but the turn is leaving a clean, crisp line in the snow. That's perfect! Oh, and be sure it's a flattish run, or you will pick up way too much speed.
Step 4) Mellow Run
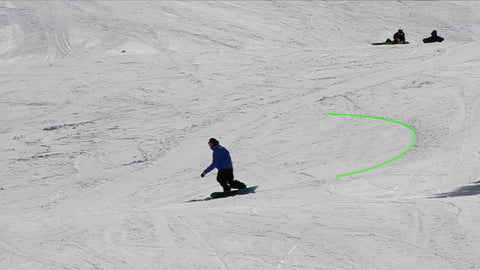
To carve your turns you need to engage your edge much earlier in the turn. If your turn is a clock, it should start at the 12 o'clock mark. Keeping this in mind, you should be aiming to hold your edge all the way from 12 o'clock to 6 o'clock.
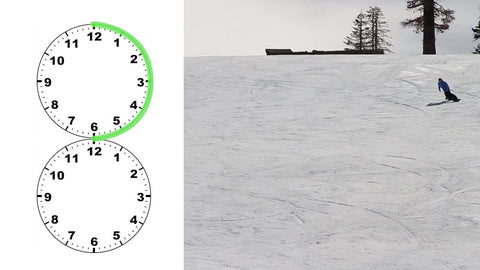 Traverse it like a clock!
 Traverse it like a clock!
Start on a very mellow, groomed green run, preferably with lots of skiers on it. Pick up a little speed and engage your first edge. When you get to 6 o'clock, get low and change to your toe edge, pushing your hips forward. One of the trickiest parts is learning to engage your edge very early at the 12 o'clock point.
Trick Tip. You can tell how good your carving is by looking back at your lines in the snow. A thin line left in the snow means you're carving. A fatter line means you are still sliding.
 Leaving a nice clean line.
 Leaving a nice clean line.
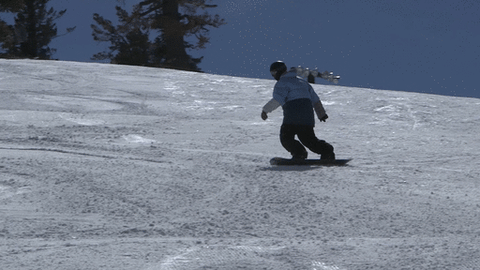
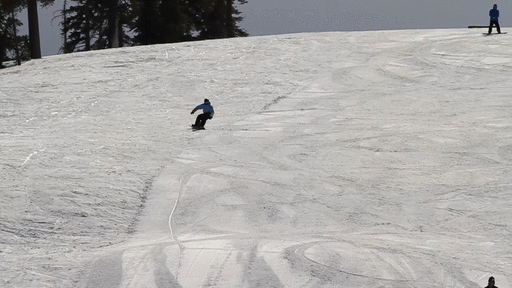
Step 5) Steeper Run
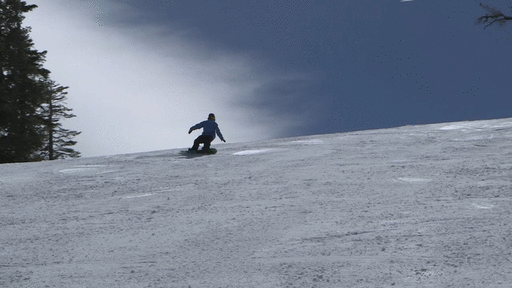
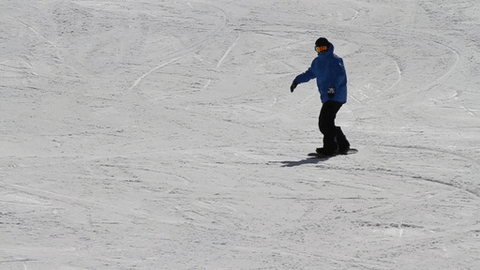
As you improve, try carving on different runs and start to put more emphasis on each carve, making your board turn quicker. Get low, engage onto the new edge and push through the turn.
 Carving!
 Carving!
On steeper runs, ride your turn all the way around until you're crossing the fall line. This is a great technique in controlling your speed.
Now that's how you carve a snowboard! Remember, it is all about getting low, engaging your toe or heel edge and pushing through the turn. Keep that line clean through the snow and you'll be cutting lines like the Wolf Of Wall Street in no time!
Want even more great snowboard trick tips? Then join our newsletter:
Alex McCann
Snowboard Addiction
Our Goal Is To Improve Your Riding


