How To Set Up Your Snowboard
It doesn't matter if you have the EST system or the traditional 4-Hole system, in this tutorial we will show you how to set up your bindings on your snowboard to best suit your riding style. We'll also show you the differences between setting up your park board vs. your powder board.
(Narrating: Nev Lapwood. Filming/Editing: Sofia Lewerin.)
1. WHAT IS THE POSITION OF YOUR STANCE
If you ride in the park with a twin-tip board, you want to mount the bindings with the same distance to the nose and tail. That way, it will feel the same even if you ride switch. If you mount a powder board, you probably want to mount the bindings a little bit further back towards the tail if it's not a traditional pow board. Most pow boards today already have a set back stance as the reference stance. Having your stance set back helps lift the nose of your snowboard out of the snow.
2. HOW WIDE DO YOU WANT YOUR STANCE TO BE?
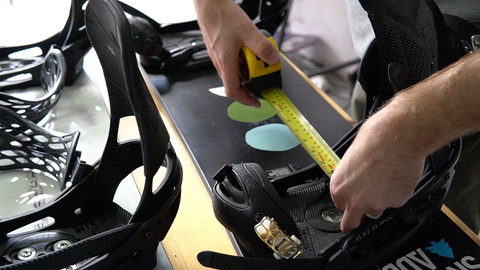
This is a personal preference. Some boards will tell you what the reference stands is. You can play around with this and try out what you prefer. In general, the taller you are, the wider stands you want. If it's to skinny, you will lose balance easily. If it is to wide, it will restrict the amount of movement you have. If you have no idea, look what the reference says on the board, try that and se how it feels.

How wide you want the board to be is a personal preference.
3. WHAT ANGELS DO YOU WANT YOUR BINDINGS AT?
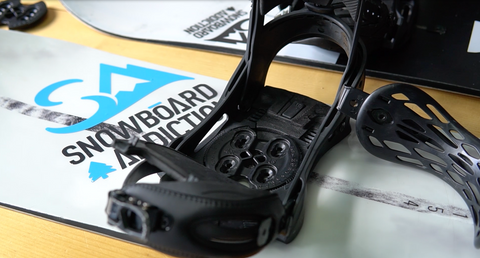
If you have a traditional binding made for the 4-hole system, you will have a disc with small teeth. You decide the angel depend on how you place the desk in the bottom of the binding. In general on 4-hole binding, every single tooth on the binding represent 3 degrees. The angel is a personal preference. In the video above we mount the front bindings 12 degrees and the back -9. This is a normal stand but again, this is a personal preference. Racers usually ride both bindings facing forward. Most freestyle shredders, ride with a positive angel on the front foot and a negative angel on the back.
With the EST-system, you're not restricted by the 3 degree increments. You can actually choose any angel you want on the fly! It has an indicator on the binding that tells you what your angel is.

You adjust the angel on a 4-holes binding with the desk inside
4. HOW CLOSE TO THE TOE EDGE/ HEEL EDGE SHOULD YOU MOUNT YOUR BINDING?
This depends on your foot size. You want the weight of your body in the center of the board. In general, you can just mount the binding in the middle. If you have a smaller foot, mount the bindings closer to the toe edge. If you have a bigger foot, mount your bindings closer to the heel edge.
3. SCREW THE BINDINGS ON THE BOARD
When you know where you want your bindings, it's time to lock them in place. Line up the bindings over the hole and tight it as tight as you can. This does not mean your bindings are locked in for good. Over time your bindings will loosen, this is caused by vibration and pressure on the bindings.

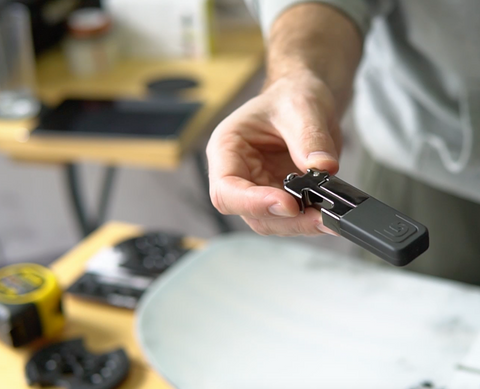
Always good to carry a small screwdriver in your pocket or bag when riding.
A small screwdriver is great to always carry in your pocket when you are riding, in case you want to adjust your bindings.
Want even more tips and free lessons straight to your inbox?
Sofia Lewerin
Snowboard Addiciton
Our Goal Is To Improve Your Riding


